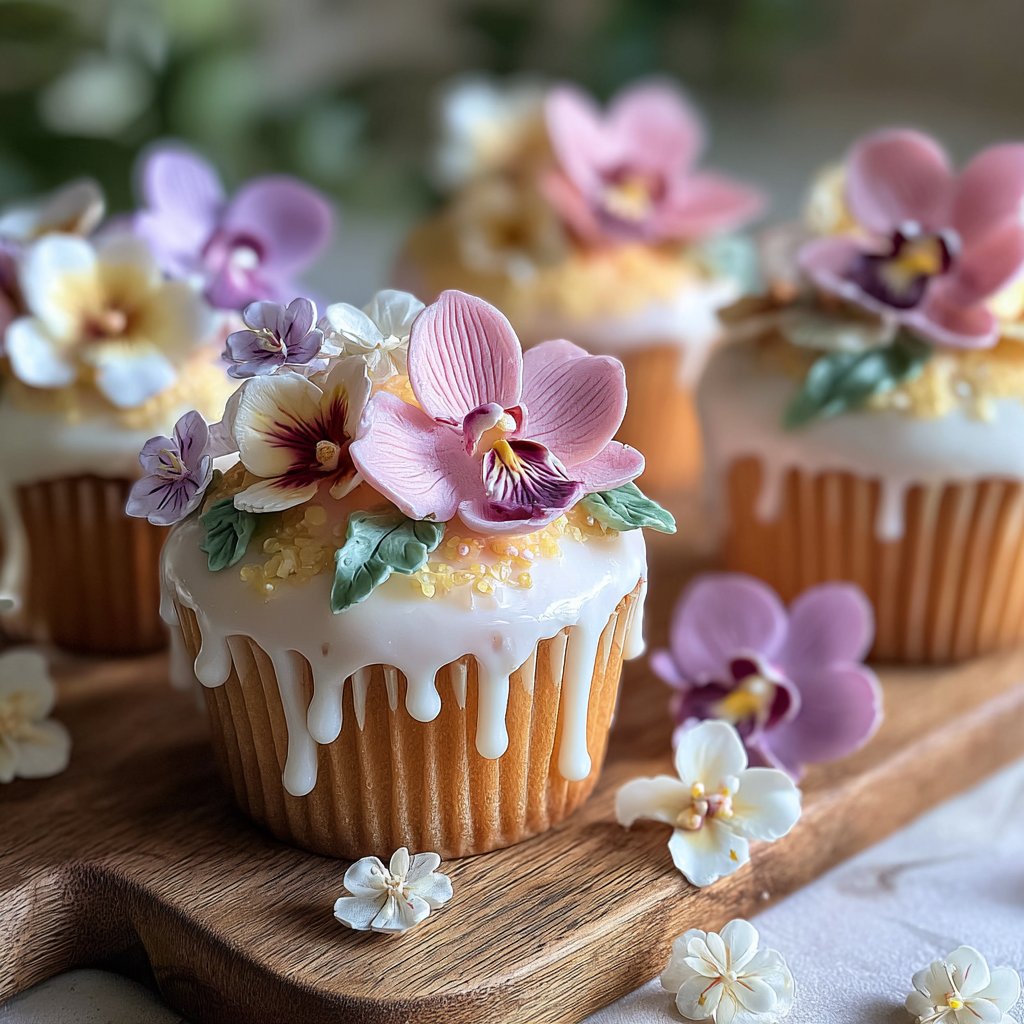
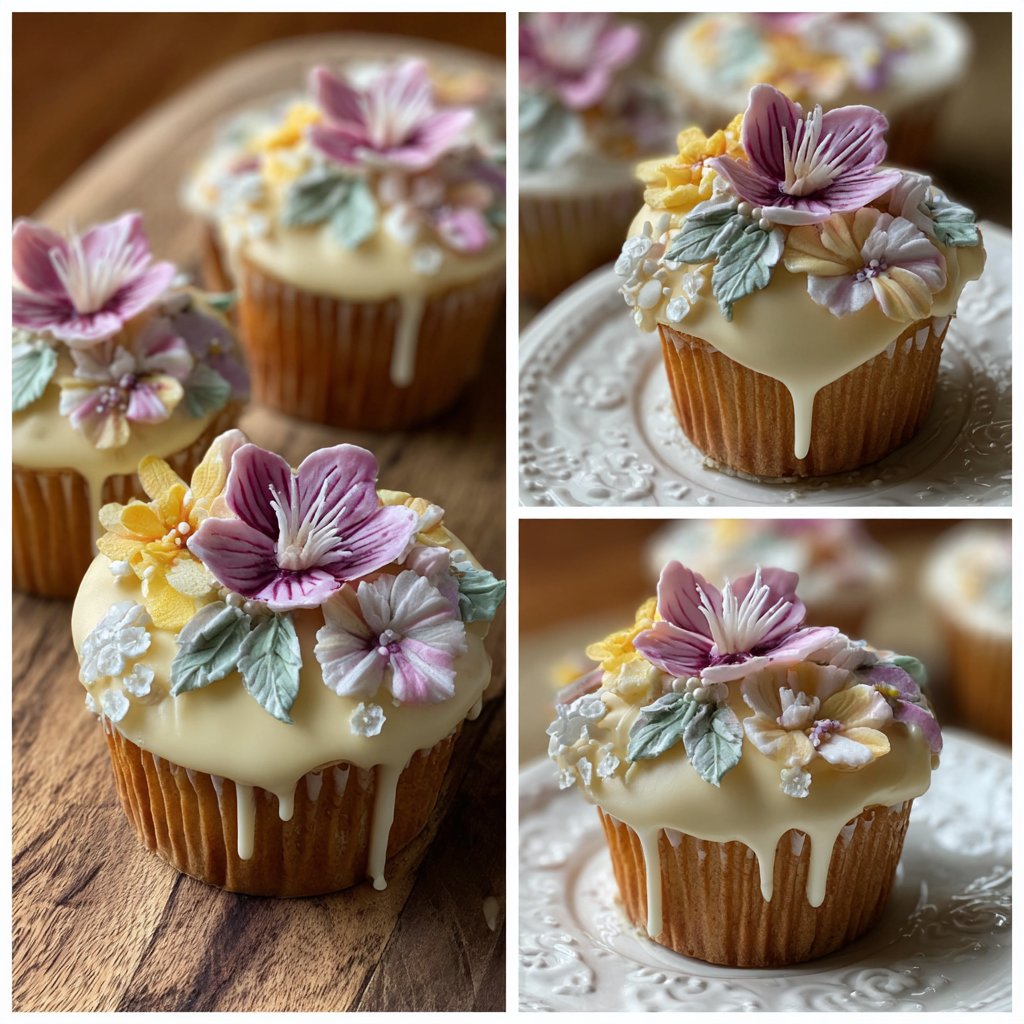
Delicate Orchids Cupcake Decorations
Highlighted under: Party Cakes Recipe
I love to elevate my cupcakes with beautiful decorations, and these delicate orchids are a favorite of mine. Making these floral toppings can transform a simple treat into a stunning centerpiece. With just a little practice and the right techniques, you can create exquisite orchids that look like they came straight from a bakery. I find that using fondant gives me the flexibility to shape and color the flowers just how I want them, allowing for endless creativity in my cupcake designs.
When I first attempted to decorate my cupcakes with these orchid designs, I was overwhelmed by how delicate and beautiful they turned out. I practiced several times, trying different colors and shapes, until I found the perfect technique. Using a mix of gel colors adds depth and realism to the blossoms, making them truly stunning.
A key tip I discovered is to let the petals dry completely before assembling them. This ensures that they hold their shape and look fresh, giving your cupcakes a professional finish. The joy of seeing my friends’ faces light up when they see these decorations is priceless!
Why You Will Love This Recipe
- Beautifully intricate design that impresses everyone
- Customizable colors to match any occasion
- A fun and creative way to engage with baking
Understanding Fondant
Fondant is a versatile medium that plays a crucial role in crafting delicate orchid decorations. Its pliability allows for intricate detailing, making it a favorite among cake decorators. When kneading, aim for a smooth and elastic consistency; it should not be sticky. If it's too dry, a small amount of vegetable shortening can help restore moisture. Choosing the right fondant texture can dramatically affect the final look of your orchids, so take the time to work it thoroughly before starting on your petals.
Working with gel food colors can enhance the visual impact of your orchids. While liquid food colors can alter the fondant's consistency, gel colors maintain the firmness. To avoid over-saturation, add colors drop by drop, mixing until you achieve the desired tones. Remember that darker colors can dominate, so starting lighter and building up ensures better control. Creating a balance of shades will contribute to a more lifelike appearance, reminiscent of actual orchids.
Petals and Texture
When shaping your orchid petals, the thickness is key. I recommend rolling the fondant to about 1/8 inch thick. This thickness allows for an elegant yet sturdy petal. Use a sharp knife or petal cutter for clean edges, which enhances the overall appearance. Once cut, using a paintbrush to create texture on the edges adds depth—this is crucial for mimicking the natural look of orchid petals. Letting them dry slightly before assembly helps maintain their shape while still being flexible enough to manipulate.
If you find that your petals are curling, consider placing them on a foam pad or similar surface while they dry. This allows them to maintain a slight curve, emulating the natural splay of orchid petals. Also, ensure your workspace is lightly dusted with cornstarch to prevent sticking; however, excess cornstarch should be brushed off before assembly to avoid a dusty finish on your final decoration. These small details can make your orchids not just beautiful but professional-looking too.
Ingredients
Gather the following ingredients to start your orchid decorations:
Ingredients for Orchid Decorations
- 1 cup fondant (white or colored)
- Gel food colors (various shades)
- Cornstarch (for dusting)
- Edible glitter (optional)
- Gum paste (for stability)
- A small paintbrush
- Flower wire
- Floral tape
Be sure to have all your tools ready before you start shaping your orchids!
Instructions
Follow these steps to create your delicate orchid decorations:
Prepare the Fondant
Knead the fondant until it is smooth and pliable. Divide it into small portions and color each with the gel food colors, mixing well to achieve the desired shades for your orchids.
Shape the Petals
Roll out a small piece of the colored fondant and cut out petal shapes. Use the paintbrush to create texture by gently stroking the edges. Allow the petals to dry slightly.
Assemble the Orchids
Once the petals have dried but are still flexible, layer them and use a small amount of gum paste to hold them together. Insert a piece of flower wire into the base and wrap with floral tape to secure.
Final Touches
Dust the orchids with edible glitter for shimmer and set them aside to dry completely. Once dry, arrange them on top of your cupcakes for a stunning finish.
These decorations will enhance your cupcakes and definitely impress your guests!
Pro Tips
- Experiment with different color combinations and petal shapes to make each orchid unique. Practice is key to getting the shape and look just right.
Storing and Handling
To keep your orchid decorations fresh, store them in a cool, dry place away from direct sunlight. If made ahead of time, they can last for up to two weeks if properly handled. Use an airtight container lined with parchment paper to prevent any dust accumulation. Avoid refrigeration, as that can cause fondant to sweat and ruin the texture. If you notice any cracking, lightly mist with water and reshape gently—just be careful not to over-hydrate.
For safety and quality, handle the orchids with clean hands to avoid transferring any oils or moisture. When placing them on cupcakes, wait until just before serving to ensure they maintain their pristine appearance. If you're transporting cupcakes with orchids, consider using cupcake boxes with dividers to prevent any damage. This extra care will ensure your beautiful creations arrive safely at their destination.
Variations and Customizations
There are endless possibilities when customizing your orchid decorations. Experiment with different fondant colors to match specific themes, such as pastel shades for spring or vibrant hues for a tropical party. You could also explore using metallic gel colors for an added luster or even painting the petals with edible luster dust for a shimmering effect. If you're feeling adventurous, try incorporating other floral designs or shapes for a varied cupcake bouquet.
Another fun variation involves the use of edible decorations beyond color. Incorporate small edible pearls or sugar crystals in the flower center to simulate the flower's core. Alternatively, consider dusting the edges with colored powder or edible glitter to give an extra shimmer that catches light beautifully. These small touches not only enhance visual appeal but also can elevate the theme of your event or celebration.
Questions About Recipes
→ Can I make these orchids in advance?
Yes, you can make them a few days ahead. Just store them in a cool, dry place to keep them intact.
→ What if I don't have gum paste?
You can use additional fondant, but gum paste will provide more stability for the petals.
→ How can I store the finished cupcakes?
Store them in an airtight container. If you added perishable fillings or frostings, keep them refrigerated.
→ Is there a substitute for flower wire?
You can use toothpicks as an alternative to support the flowers if flower wire is unavailable.
Delicate Orchids Cupcake Decorations
Created by: The Chefdeanfoods Team
Recipe Type: Party Cakes Recipe
Skill Level: Intermediate
Final Quantity: 12 cupcakes
What You'll Need
Ingredients for Orchid Decorations
- 1 cup fondant (white or colored)
- Gel food colors (various shades)
- Cornstarch (for dusting)
- Edible glitter (optional)
- Gum paste (for stability)
- A small paintbrush
- Flower wire
- Floral tape
How-To Steps
Knead the fondant until it is smooth and pliable. Divide it into small portions and color each with the gel food colors, mixing well to achieve the desired shades for your orchids.
Roll out a small piece of the colored fondant and cut out petal shapes. Use the paintbrush to create texture by gently stroking the edges. Allow the petals to dry slightly.
Once the petals have dried but are still flexible, layer them and use a small amount of gum paste to hold them together. Insert a piece of flower wire into the base and wrap with floral tape to secure.
Dust the orchids with edible glitter for shimmer and set them aside to dry completely. Once dry, arrange them on top of your cupcakes for a stunning finish.
Extra Tips
- Experiment with different color combinations and petal shapes to make each orchid unique. Practice is key to getting the shape and look just right.
Nutritional Breakdown (Per Serving)
- Calories: 50 kcal
- Total Fat: 1g
- Saturated Fat: 0g
- Cholesterol: 0mg
- Sodium: 5mg
- Total Carbohydrates: 11g
- Dietary Fiber: 0g
- Sugars: 6g
- Protein: 0g